Many of our B2B clients have been doing content marketing for a while: they blog, send newsletters, share social media posts. The problem is that they don't measure what works and what doesn't.
This is unfortunate, because this often leaves them with no idea where their leads are coming from. In this way, they are shooting with hail, so to speak, while there is a very simple way to measure which content generates the most leads.
What we use for our own marketing and our clients are Analytics UTM tags. Don't worry: what I'm about to explain to you is so easy to implement, it requires virtually no prior knowledge.
These are the steps you need to follow to add Analytics UTM tags to your blog posts:
In a nutshell, a UTM tag allows you to see the source from which visitors landed on your website.
Normally, you just use a generic link and share it on all your platforms. But when you add a piece of code to this with the UTM builder, you can see exactly which platform the visitor came to your website from. This way you not only track traffic, but you also learn more about your readers.
In the UTM builder you can define the parameters yourself, you choose recognizable terms so you can track and analyze traffic for yourself.
For example, the UTM tag of the blog in our newsletter is "7 Essential Elements to Increase Your Home Page Conversion" is:
https://searchuser.nl/blog/2017/03/21/7-essentiele-elementen-om-je-homepagina-conversie-te-verhogen/?utm_source=Nieuwsbrief%20Maart&utm_medium=Email&utm_campaign=Homepagina%20conversie
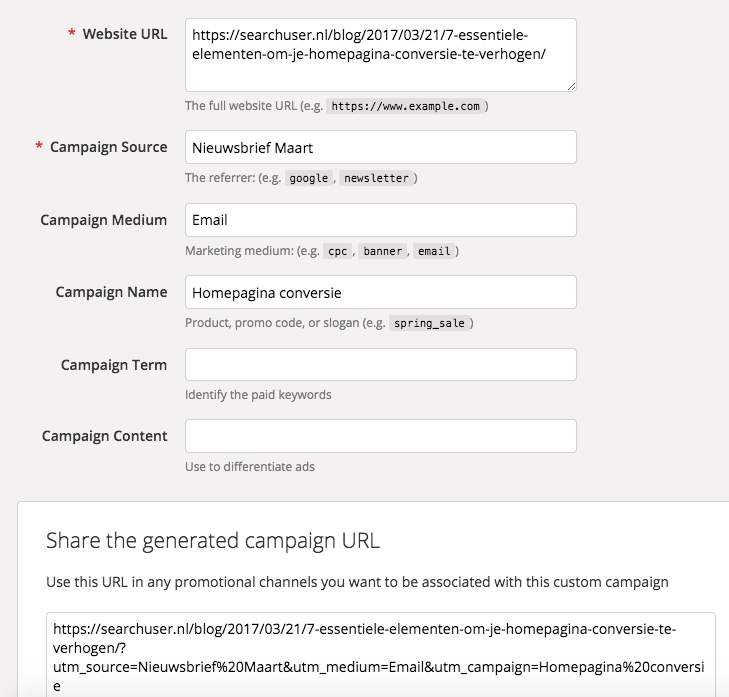
To extend the url with UTM tags, you don't really need to do anything. Just use the campaign URL builder tool and you'll be done in no time.
It looks like this:
In the example, we use a blog post that we share via on
them newsletter.
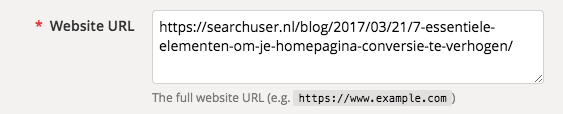
We then first enter the URL of the blog post:
Next, you are going to add the tags by filling in some fields. We use;
Source: Use the source to identify the channel. For example, newsbrief name, Facebook, Google or another source.
Medium: Use this to identify the medium, such as: email or cost-per-click (CPC)
Campaign name: Give a name to the campaign to identify a specific topic or product, for example blog topic: homepage conversion
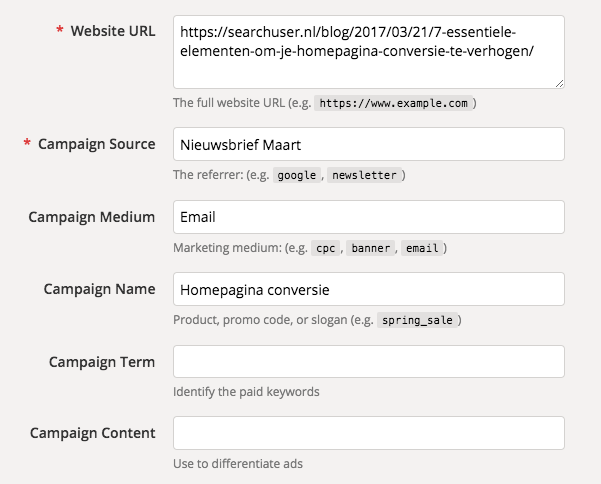
As you can see, only filling in the source is mandatory. We still advise you to fill in the other tags as well. If you only fill in the source, you will not be able to find the traffic correctly in Analytics. It is important that you fill in the campaign name correctly, with that tag you will be able to find the traffic in Analytics.
When you fill in the fields, the builder immediately generates an extended URL, which looks like this:
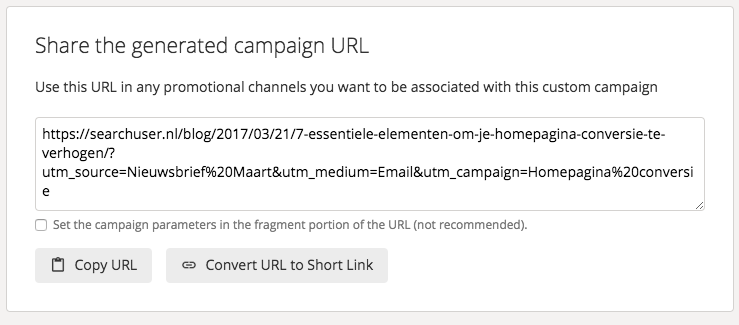
You then fill in this piece for all your channels, i.e.: social media, newsletter, email signatures, etc. This way you can check the traffic from each channel. So you can use the first example again, but for a different platform for example email signature or Facebook.
Note that it does not save or create a new link. It only serves as a tool where a piece of code is created and put in the right place.
Also not entirely unimportant: If you often share posts via social media, it is wise to make a note of all the tags. That way, you yourself will remember where which campaign belongs.
(In the examples, we used the same campaign name. However, if you have several campaigns, it is easier to give them a new name each time so that you can distinguish them properly. Should you still choose to put everything under one campaign, you can always segment by source and medium to find out the traffic).
After publishing, don't go into Google Analytics right away. Analytics needs some time to gather data.
Should there have been traffic to your website, you can find it under Acquisition → campaigns → all campaigns.
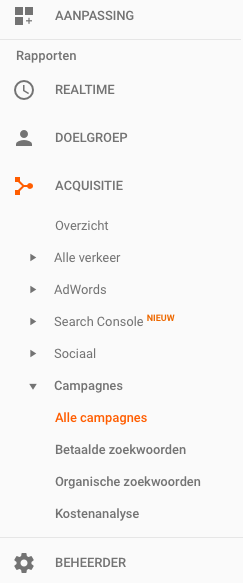
If you have used the same campaign name for your posts, you will see that all the data is put under each other. You can then still view the sources by clicking on the relevant campaign.
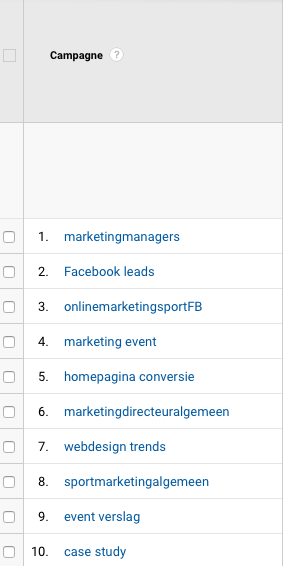
In the example below you can see that under the heading campaigns the names of the campaigns are listed.
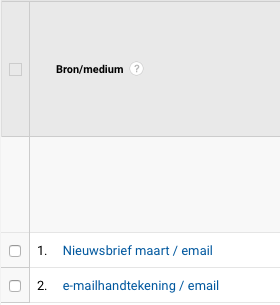
If you then select a campaign you come out to the Source/Media overview, where you can still differentiate your sources to see which source performed the best within that campaign.
Should you look after 2 weeks, don't forget to adjust the dates in the upper right corner so that you do see the result from the beginning.
Don't forget: For each campaign, note which parameters (source / medium) you use, so that you can check afterwards whether there were any visits. As mentioned, you will only find Analytics UTM tags in Analytics when there has actually been a visit through that source.
You can now get started tracking your social media traffic!
Are you already using this? Share your experiences in the comments.
